Looks spiffy with a coat of paint on for protection...

Then it was the beginning of siding the dormer! Here are the first pieces cut, primed and drying in the sun...
Cutting more siding pieces...
Pre-drilling the pieces that will go underneath the window...
Jim has the first side shingled and the rest of the pieces are drying. Time to move on to figuring out the side pieces. He first took a piece of old cardboard and made a template of the area...
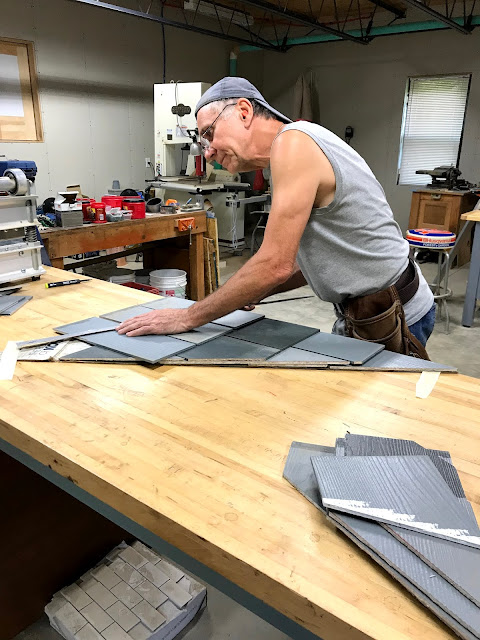
Then he marked shingle lines and started figuring out a design...
Design is all set! I took each row off at a time and marked them with a side, row and shingle number designation on the back so that Jim would be able to rebuild it up on the dormer.
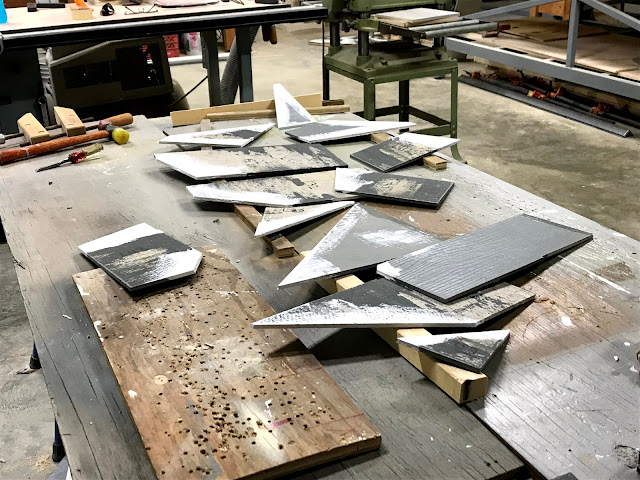
Then he primed all the edges...
All the puzzle pieces taken apart!
Time to start on the other side. At least now, Jim could use the first side pieces to help figure out size and placement.
Prime time!
Next side pieces all primed...
Then Jim finished off by putting the left side shingles and the bottom row on. The only thing left on the front is the trim board on top of the window. Jim even repainted the vent cover and got it snapped into the soffit. I love the way it looks!
Jim needed to make a trip into Lowe's to look for a few things so once he got cleaned up and the trash out, he took off.
 |
| High 75/Low 52 - beautiful! |


No comments:
Post a Comment