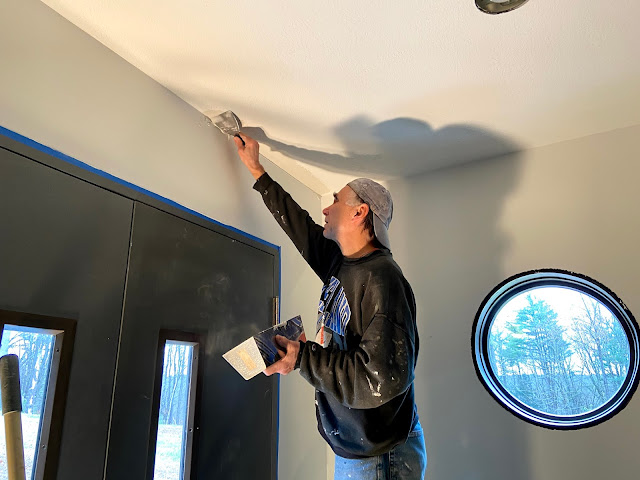
So...we decided we weren't 100% satisfied with the stairwell lobby area ceiling. The lighting wasn't great when we did it and Jim feels like it was a combination of not enough plaster and stomping the pattern too close that just made it all seem a bit too flat. Before we went any farther in painting, we decided to redo. Jim mixed up a thicker plaster mixture and started putting a coat on the edges (another trick we had done on the other ceilings and forgot until we were about halfway through this ceiling the first time).
Rolling on the plaster...
All done and laying down the pattern...
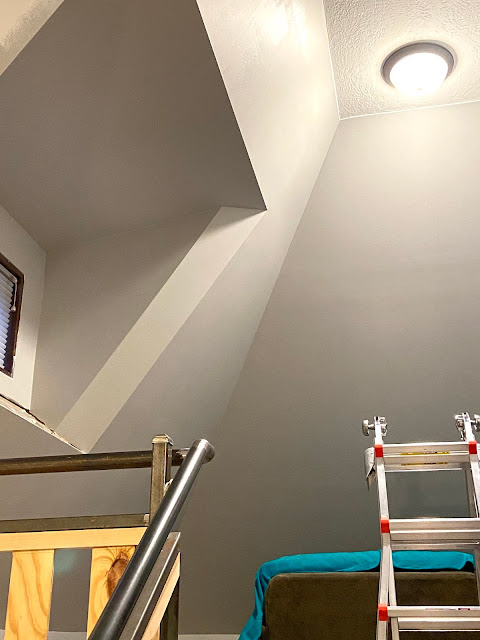
Yay - it looks much better now and we are very happy!
Of course, while Jim had plaster out, he decided to touch up a couple of areas on the wall!
With our wonderful concrete driveway, it's easy now to roll the power washer outside, hook it up to the outside hydrant with the small section of hose, and do all the clean up work.
We bought two new gallons of the paint we are going to use for the stairwell, but Jim also found two additional partial gallons left over from the main living space. We're a bit confused why there were two - Jim is meticulous about not wasting anything. When he first opened the cans, the new one looked almost white and the other two weird shades of blue and black...
But a little mixing brought them all to the same color. He even did a test color comparison on a piece of wood. He mixed the two partial cans together to use up first.
Putting a coat of gray on our coat racks...
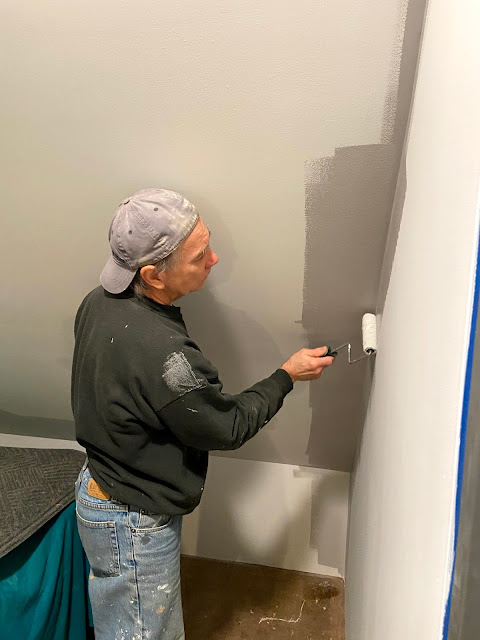
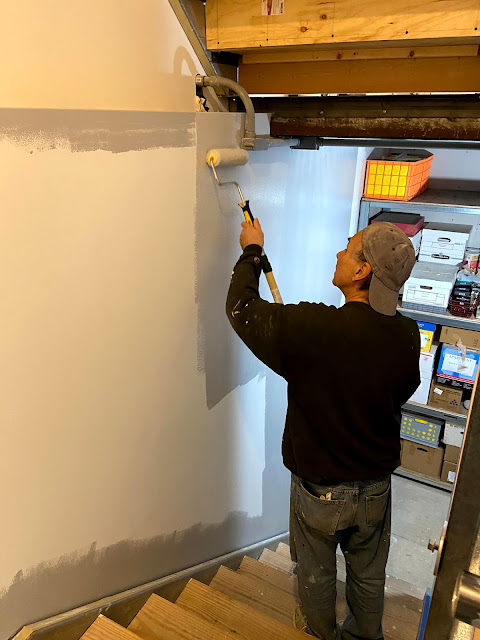
The first gray in the stairwell! Jim wanted to do this first so that he can get the thermostat back up to put a little heat in the stairwell.
Jim started at the bottom of the stairwell doing the trim work...
And started up the stairs...
Using up the last of the paint to do this trim work...
 |
High 41/Low 35
|
