Thursday, July 27, 2017

7.27.2017

As promised, the picture of the dormer side all finished and painted!  
 
 
Jim started up the back side of the wood shop with insulation.  He has to do some wiring in the corners for the security lights - he's also going to get some 16" insulation batts for the corners.
 

Jim spent quite awhile this morning drilling these ventilation holes for the stairwell into the attic space!  You can tell they are big holes and he had to work at the very end of the attic space so it wasn't real comfortable.  Glad that's off his list!


While he was doing attic work, he did more rigid foam insulation...

 
Then he worked on bringing insulation down from the attic space around the back of the vent stack.


 Then insulation on top of the stack area...


 Putting fiberglass on the rest of the ceiling area in front of the stack...


Making it fit nicely around the stack...


Cutting more rigid foam - Jim wanted to put another layer up in the attic area...

 
Jim used his new bandsaw today and made the first knee brace for the overhang!  He used timber frame joints.  This is what it looks like apart...


...and together!  He still needs to put a curve on the front but we're thrilled with the way they look - they are going to look so nice when they're all done.  These are important to get finished because then we can finish the siding on the entrance side.


High 72/Low 58


Wednesday, July 26, 2017

7.26.2017

As if he doesn't have enough to do, Jim wanted to change the oil in my car today.  At least the 4Runner work is done and back on the road so that's a big block checked.


Now that we have easily accessible water from our lawn hydrant, Jim decided to clean the mats in my car...


and spray the car off for good measure too!  (thanks, dear!)


The Bobcat sorely needed a cleaning too...


But Jim still managed to get lots done inside too...more insulation up in the wood shop.  These two cavities weren't quite so simple as they look finished - Jim had attached a rail to hang up our pipe clamps so all that had to be removed first.


Up in the apartment, he got the insulation finished over the master bedroom door...


And the space between the two rooms - this was complicated because this is where all the wires come down.


There was just one more piece of siding to go - the HardiPlank piece at the very top.


Jim made all the trim pieces that will go underneath the rake board - they need painted and then they'll be ready to put up.  But he started working on painting all the primer areas on the dormer (picture to come tomorrow!).


At the end of the day, he worked on getting all the adjustments made to the bandsaw with its new blade.  Then he cut grass again to top off the day!

High 75/Low 62

Tuesday, July 25, 2017

7.25.2017

Jim started the morning at the DMV.  Yesterday, he removed the license plates from the older 4Runner, canceled the insurance on it, and restarted the insurance on the newer 4Runner.  Today, he drove my car and transferred the plates from one car to the other at the DMV - not much of a wait and an easy process thankfully.
 
However, that meant that he had to come and pick me up this afternoon and bring me to the property to get my car.  It was another cool day - perfect for insulation - so he just worked on those details all day.
 
He got 2 more cavities done in the wood shop - including one that had to be split again, as well as he now has to work on the ladder on top of the wood pile!  Not ideal.


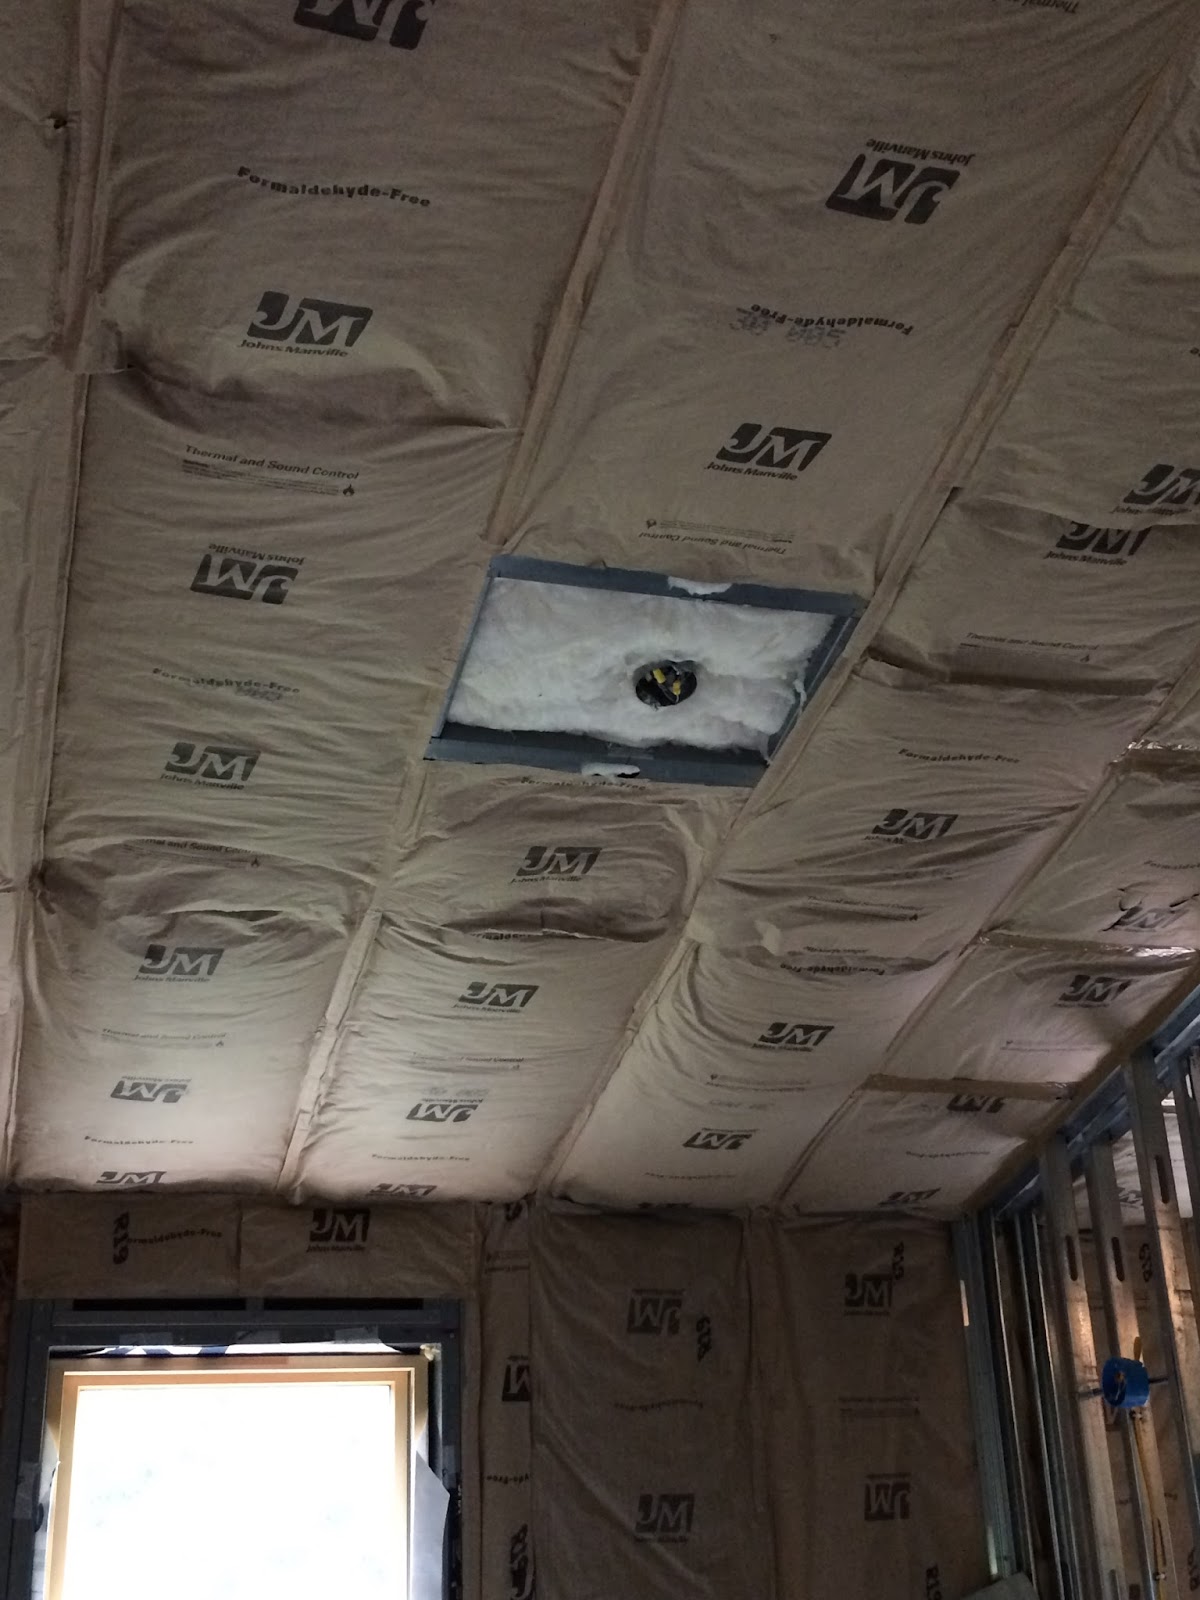
 Now it's time to attend to all the details of the insulation.  He had started doing insulation in the second bedroom and he went back and fixed a couple places that he wasn't happy with the way they were glued.  Then he took apart one of the insulation batts and really filled the cavity for the fan, tucking insulation all in and around all the lights so that there are no voids.  This will just have to have some plastic on it and it will be done. 


He did the same thing in the master bedroom...


Also in the master bedroom, he used the R15 insulation and put batts on the room side of the attic space - that's considered an outside space for insulation. 


He also took more loose insulation and stuffed it in all the nooks and crannies around the closet and lower ceiling area in the master bedroom.


Then he started working on the area above the door in the master bedroom.  These rooms will be just about wrapped up except for some plastic - but at least that's not insulation!

 
Jim's new bandsaw blades finally came in - they are really meaty!  However, changing blades is not an easy task.  He spent about half an hour taking the original blade off, then another half hour putting one of the new ones on.  He still has to align everything which will take quite awhile too.
 

High 63/Low 52

Monday, July 24, 2017

7.24.2017

We had a glorious cool day today - the temperature never got above 60 degrees!  So a perfect insulation day.  I had to run to Lowe's this morning - we needed more trim screws as well as adhesive for the rigid foam board.
 
Jim got the next two cavities in the wood shop insulated - the studs next to the door opening had studs that required Jim to stuff them with the loose insulation which takes awhile.


Up in the apartment, he got the valley rafters all complete now!  That's a huge block checked - there was so much work involved in them.


He then worked in the knee wall area in the back of the closet of the second bedroom.  He filled up the cavity with the sheets of insulation that he removed from the wall.  Then he made clip angles for the rigid foam board.


He stuffed insulation in the open cavities and then got the batts up...


Finishing the last cavity....


Putting the insulation on the sides of the closet wall...

 
Once he figured out how to put the rigid foam in this cavity yesterday, he was able to attach more rigid foam to the back of this cavity... 


Then insulation covers it all up!


Putting insulation over the door...


Lots of progress today on the insulation front - and it was a perfect day for it!
High 60/Low 53

Sunday, July 23, 2017

7.23.2017

Jim got his next two cavities filled with insulation in the woodshop...he's over to the attic space door now so good progress being made.


He worked upstairs too...finished off this valley rafter area - he had to go back up into the attic space to finish this off.


This was one of those areas that Jim wasn't sure how he was going to insulate - it's the intersection between the kitchen wall and the closet wall.  He needs to keep in mind ventilation in this area so it was complicated.  He finally figured out how to cut and bevel rigid foam in to fit and stay supported.


After lunch, it was back up to work on the dormer wall.


Making good progress again...


Down to the last piece - which has to be a piece of HardiPlank because there's no way to attach shingles in the triangle area.  Just figuring out this angle was tough!


Once Jim figured it out and tested it to make sure, he primed it up well.  He'll paint it tomorrow and the last piece will be ready to go!


End-of-the-day picture!

 
After I left, Jim made a few of the trim pieces that will go underneath the eave. 
 
High 76/Low 58


Saturday, July 22, 2017

7.22.2017

Jim continued working around the woodshop, filling in another 2 cavities.  Actually there was a stud in the middle of the last cavity so he had to cut the batts down the middle so a bit tougher.


He got the fiberglass in the valley rafter area in the kitchen - these require getting up in the attic so they are nice to have done.


Plus the master bedroom wall is all complete with a couple cavities redone.


Besides painting the day's batch of cut shingles, he made the corner eave trim piece.


Then it was time to install the siding pieces...


So very many cuts - Jim went up and down the scaffolding all day!


Making good progress...


This is as far as Jim could work today on this section - tomorrow morning, he'll paint the gray on the remaining bottom angle pieces that he cut and I primed today.
 

So then he moved down and started working on getting ready to install the freeze board.  First he has to put up a spacer and then a starter piece.


Then the freeze board can go up...


The finished product - looks great!


End-of-the-day picture...
 
 
High 78/Low 60